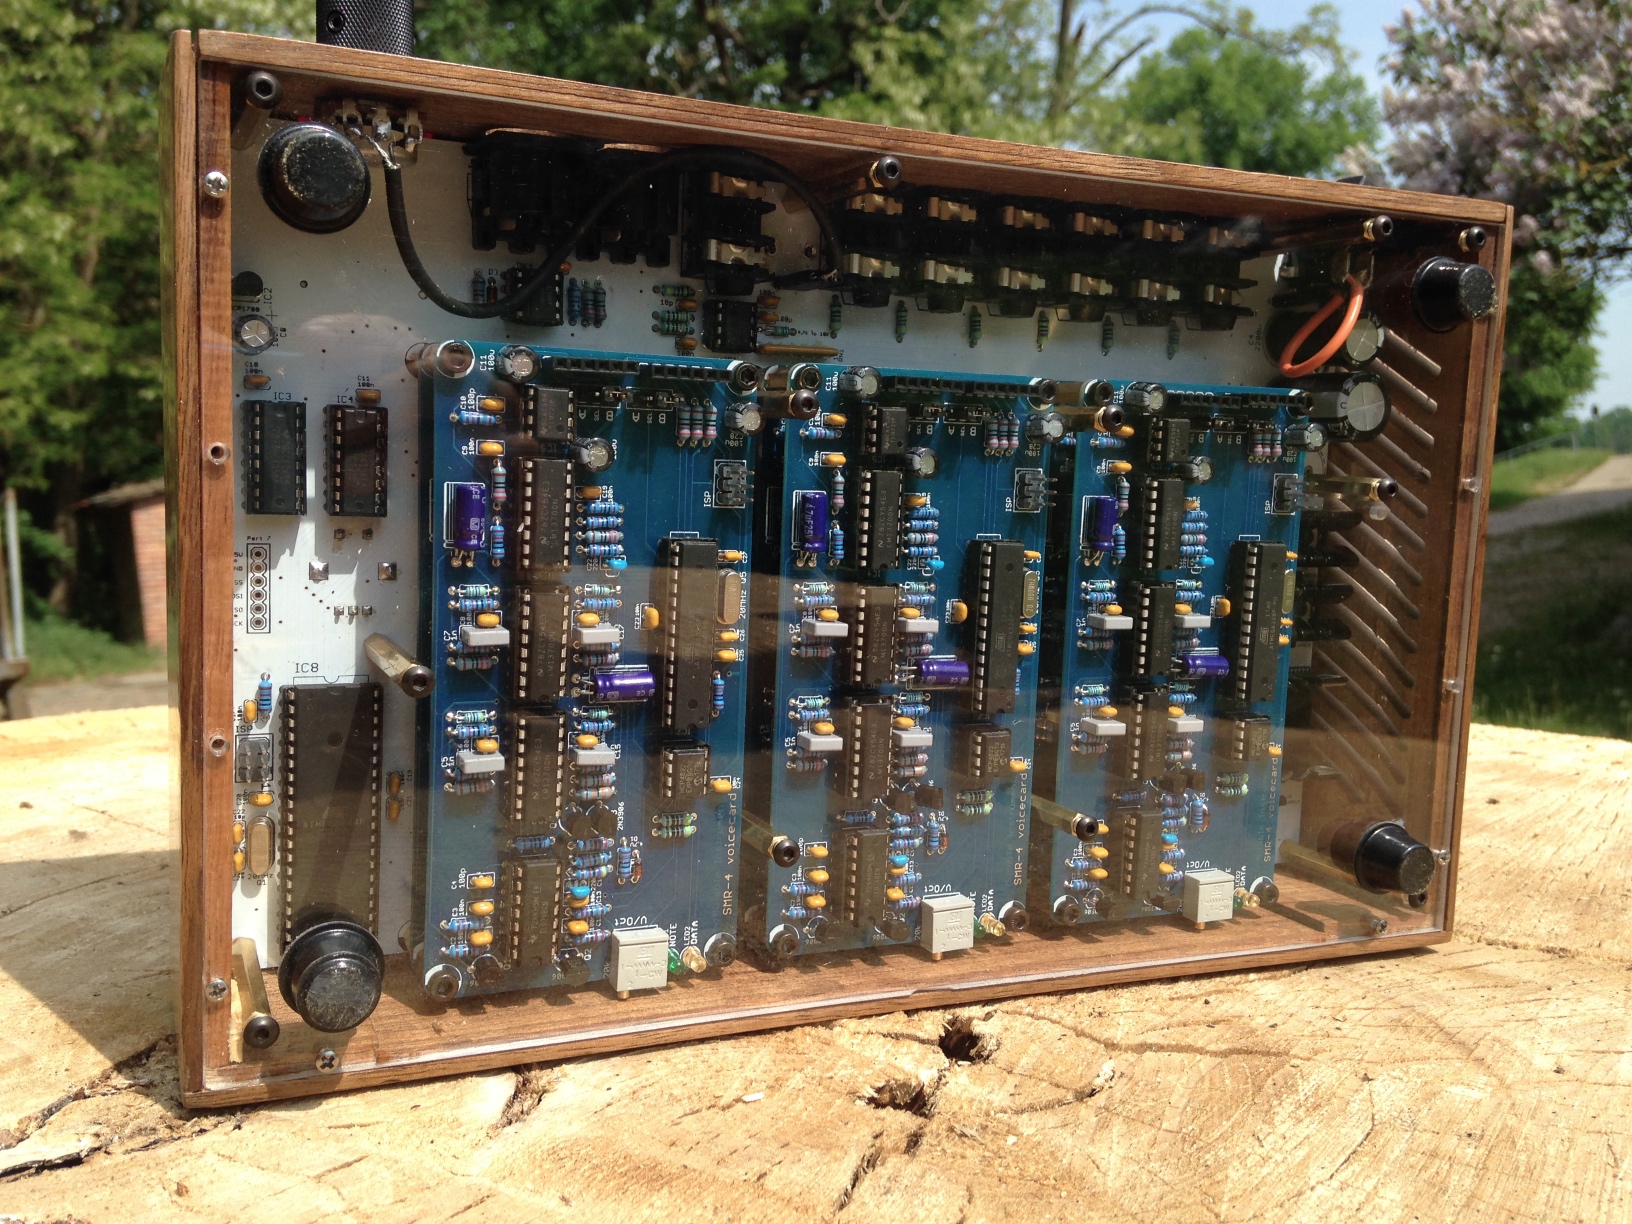
Some tips for building a Mutable Instruments Ambika, based on my experiences:
Based on the part numbers in the BOM, suppliers will sometimes pick a CD4050 chip. These are not fast enough and will cause SD card access to fail, it’s necessary to use a 74HC4050.
If you’re using a 74HC4050 and SD card access is still failing, check whether communication with all of the voicecards works. I had a lot of issues where failing or badly connected voicecards would interfere with the serial lines and prevent SD card access from working.
On that note: shell out on good quality stacking headers for the voicecards. I picked cheap ones, and suffered a long series of hard-to-debug issues caused by them not reliably connecting. I ended up having to coat all of their legs in solder to make them thick enough to reliably connect. Good headers are worth the premium to avoid these headaches.
The 3.3V regulator, DACs and all the MCUs can be obtained free from the Microchip samples service if you’re willing to do it over a few months in limited quantities of two part numbers at a time.
My Pololu USB AVR Programmer wasn’t able to provide enough power whilst programming, so I had to power the boards for programming. For the voicecards, having both 6 pin headers connected interfered with programming because of data being sent to the voicecards over the serial lines. I ended up powering up the motherboard, placing a stackable connector in the power/audio socket voicecard socket and plugging the voicecard into that for flashing, so that it’s powered but the serial lines are disconnected.
I programmed my Ambika with the YAM firmware to get those smooth sounding PolyBlep square and saw waves. I built the firmware myself, downloading CrossPack 2010-01-15 which provides avr-gcc 4.3.3, the correct version for compiling most old MI AVR firmwares.
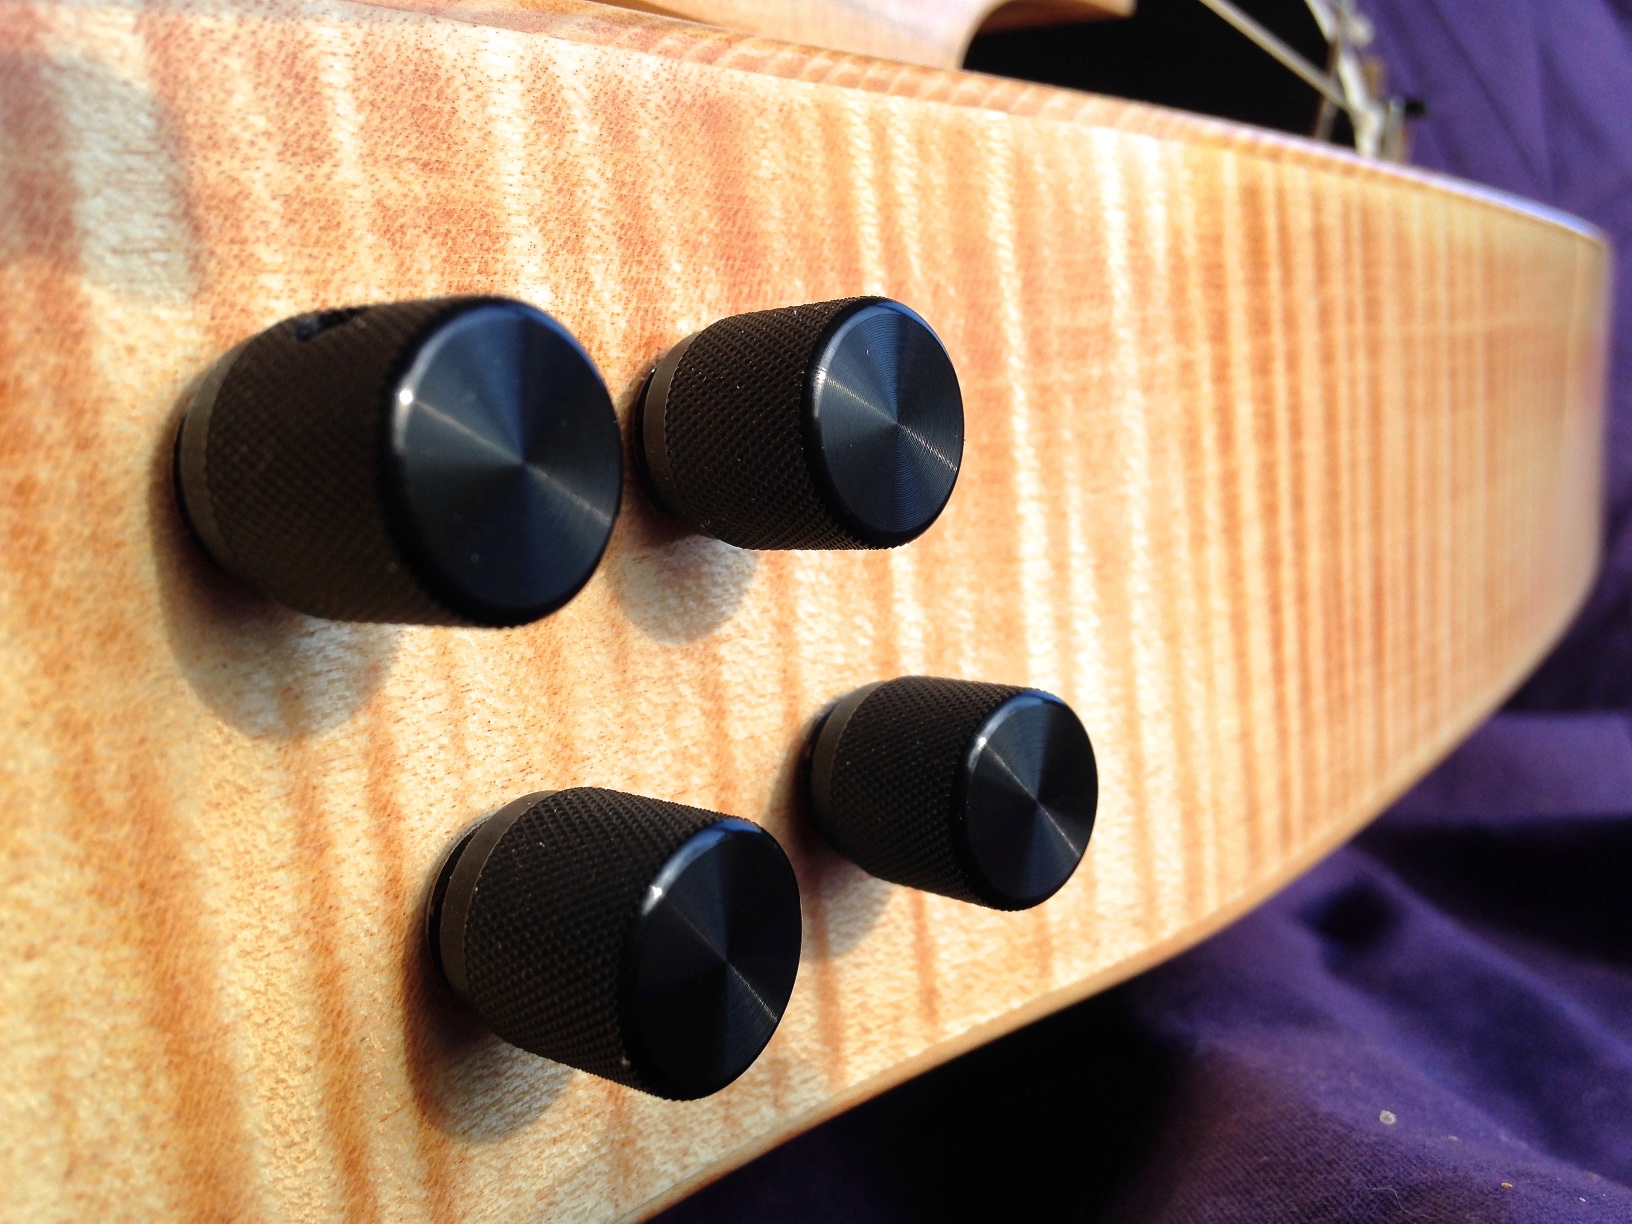
I would recommend buying higher quality pots and encoder with metal shafts rather than the flimsy plastic ones in the BOMs. There are so few on the Ambika that the added expense is only a few euros in total. An Ambika is such a large time and financial investment that there’s really no reason to use flimsy, wobbly plastic pots.
I got my PCBs from the Pusherman group-buy, they‘re very cheap and work fine.
 holy indifference
 •⌒•っ
•⌒•っ

 Aaron Parecki
 Clive Thompson
 Blaine Cook
 Andrew Dove